Connect micro:bit to Computer: micro:bit is a pocket-sized computer that introduces kids to how software and hardware work together. It is an interactive and programmable device that consists of various input-output features such as an LED light display, sensors, buttons, etc. You learn not one but multiple programming languages on one single platform by creating fun and interesting projects on micro:bit that let you learn about coding through experiments. In this blog, you will get a step-by-step guide on how to connect the micro:bit to your computer for the purpose of transferring codes onto it.
Looking to learn Robotics? Explore Wiingy’s Online Micro:bit Classes For Kids to learn from top micro:bit experts.
How Do I Connect micro:bit To My Computer?
The process to connect micro:bit to your chromebook/computer is a very easy and pretty straightforward procedure. Follow the steps below;
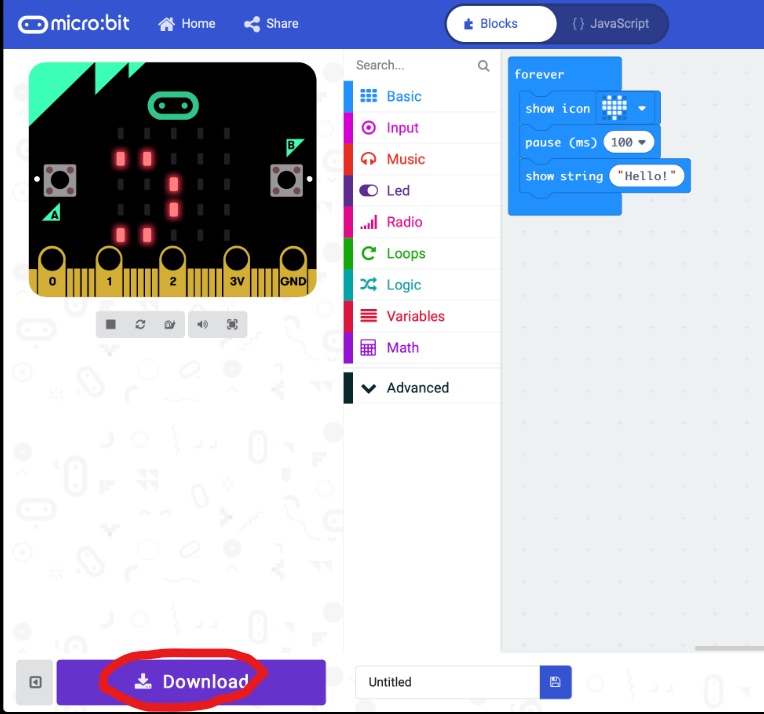
- Step 1: After you are satisfied with your coding and want to run it through your micro:bit, simply click on the download option at the bottom of the micro:bit simulator on your screen. The file needs to be downloaded as a HEX file in both the MakeCode and Python editors.
- Step 2: Now that your file is downloaded, you need to transfer the program from your computer to your micro:bit device where it’ll be stored in its memory. This process is called “flashing” because the program gets stored in the micro:bit in its flash memory.
- Step 3: In order to start the “flashing” step, connect your Micro USB cable to the USB portal located on the top of the micro:bit device and connect the other end of the Micro USB cable to your computer.
- Step 4: You can now see a new drive appearing on your computer with the label, “micro:bit”.
- Step 5: Drag and drop the downloaded HEX file from your computer’s downloads to the micro: bit drive that is still connected to your computer. When the file starts copying, a light will flash across your micro:bit, and when the flashing stops, your program will run on the micro:bit.
There you go, an easy and straightforward process of connecting micro:bit to your computer and also transferring codes to micro:bit for the purpose of testing your program.
Looking to learn Robotics? Explore Wiingy’s Online Micro:bit Classes For Kids to learn from top micro:bit experts.
FAQs on Connecting micro:bit to Your Computer
The frequently asked questions on how to connect micro:bit to windows 10 are given below:
How to connect micro:bit to my Windows?
Simply connect micro:bit with your windows with the help of a Micro USB cable. Read the above blog for detailed information.
What is the cable used to connect micro:bit with a computer?
A USB cable is used to connect micro:bit to a computer.
How to login to micro:bit?
There is no need to create an account on micro:bit. You can just select the programming language you want to work with and start creating projects.
What are micro:bit projects?
Micro:bit projects can be of many types, like games or animation. Projects are the way to learn to code in micro:bit.
Can I download micro:bit?
Yes, you can download micro:bit MakeCode offline application by Microsoft.
What is Microsoft MakeCode?
Microsoft MakeCode is a simple visual coding language. It has a drag-and-drop interface, which means the codes are in the shape of blocks and can be dragged and dropped onto the editor in order to create and run a script.
What are micro:bit projects?
Many fun and interesting projects can be created in micro:bit using programming languages like Microsoft MakeCode, Python, Java, and Scratch. You can either run your projects in a stimulator or the micro:bit board.
micro:bit has many interesting features and one of its features is that micro:bit uses many programming languages, like MakeCode, Python, and Scratch, which attracts people of all age groups, from children to pro coders. There are many interesting projects that can be made using micro:bit, like flashing heart, rock, paper and scissors and many more!
Additional Reads
How to Reset micro:bit to Factory Settings?
How To Transfer Code to Micro:bit via USB?
How To Connect A Power Supply to micro:bit?
How To Make a Smiley Face on a micro:bit?
How to Set micro:bit As Download Location?